This screen contains several options for controlling how your images will be displayed on the six flat sides of your cube or carousel.
Screen 3
This screen contains several options for controlling how your images will be displayed on
the six flat sides of your cube or carousel.
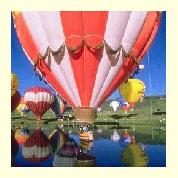
"Stretch to Fit" will make every image fill the entire face of the image cube or carousel. This option works well for images that are the same size as the face of the selected object. However, if the original image is a different size than the face of the object, this may cause the image to appear distorted. For example, if the original images are rectangular and the object is a cube, the images will be squished to fit and the subjects in the picture will appear skinny. In some cases, such as family holiday pictures, this may be a desirable effect :)
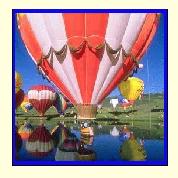
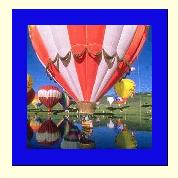
For example, here are three sample faces of a square image for "Stretch to
Fit," and "Border" with "Thin" and "Thick" selected,
respectively (for square face shapes):
Stretch to Fit |
Border - Thin |
Border - Thick |
|
|
|
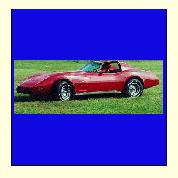
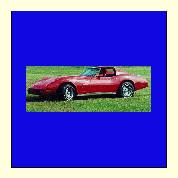
Similarly, here are three examples of the border behavior for a non-square image (again,
for square face shapes):
Stretch to Fit |
Border - Thin |
Border - Thick |
|
|
|
"Add Borders" will preserve the original image shape. There are four Border
Sizes available: thin, normal, thick, and very thick. Borders are added all around the
images, and are thickest on the sides in the shorter direction of a rectangular image. The
default border color is blue. Clicking on the blue square will allow you to change the
Border Color. You can either select one of the predefined colors, or if you click on the
Define Custom Colors button, the following screen will appear.

By adjusting the Red, Green, and Blue slider controls, you can achieve practically any color you want for use as your border color. This will allow you to create a border color which complements the images on your cube or carousel.